An activity is a course, class, session or event that members join. You use it for anything with its own dates or places. Unlike a membership it can require a membership, place members in a team, limit places and follow a weekly schedule.
Creating the activity
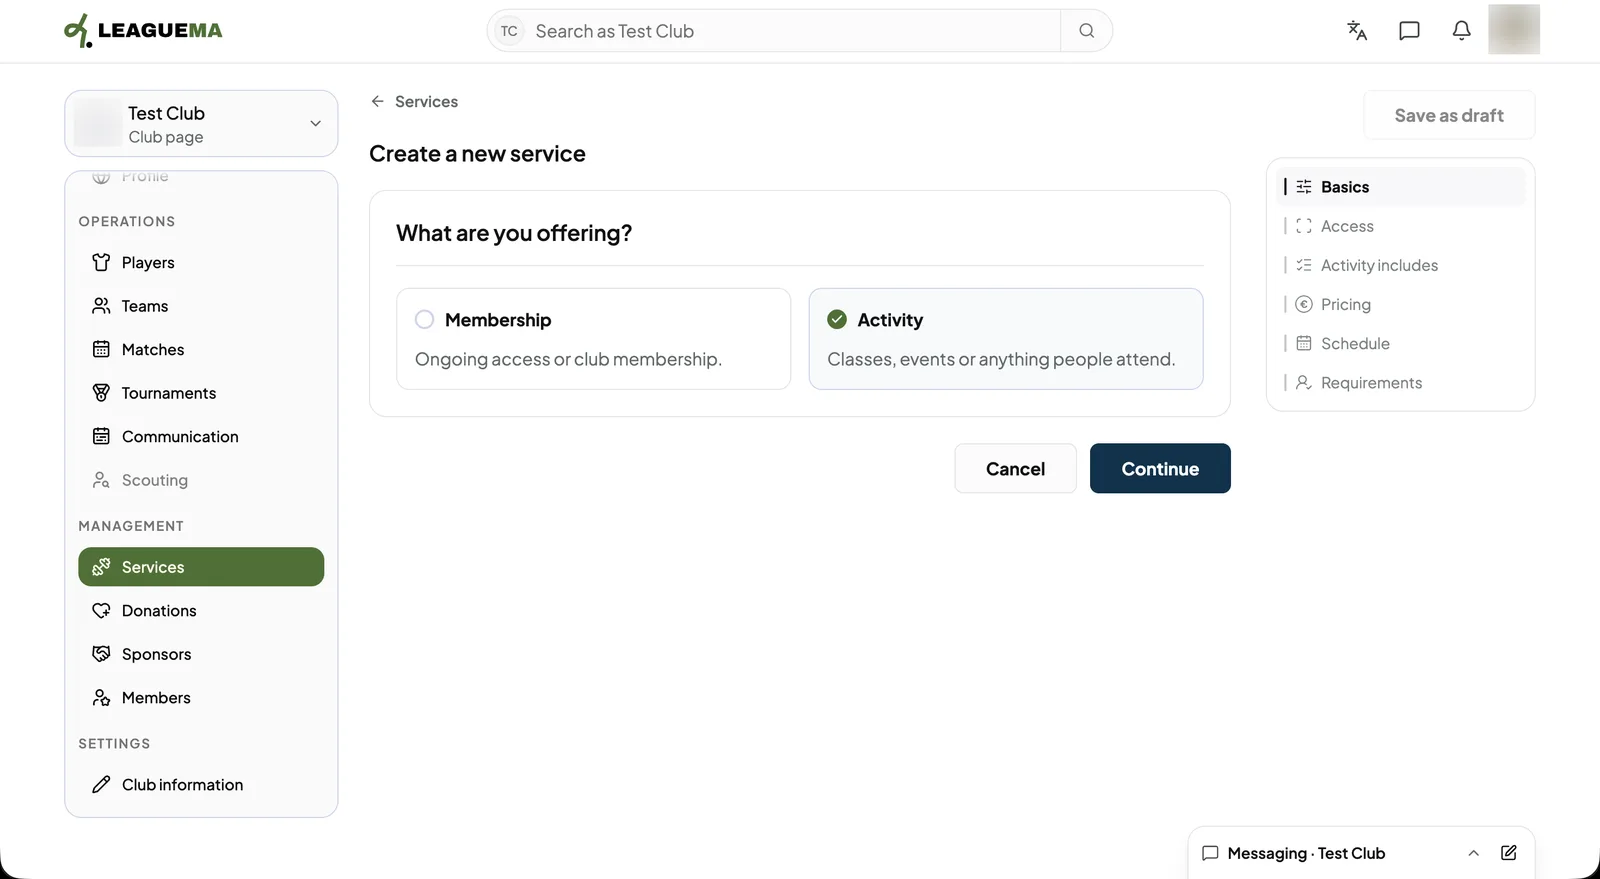
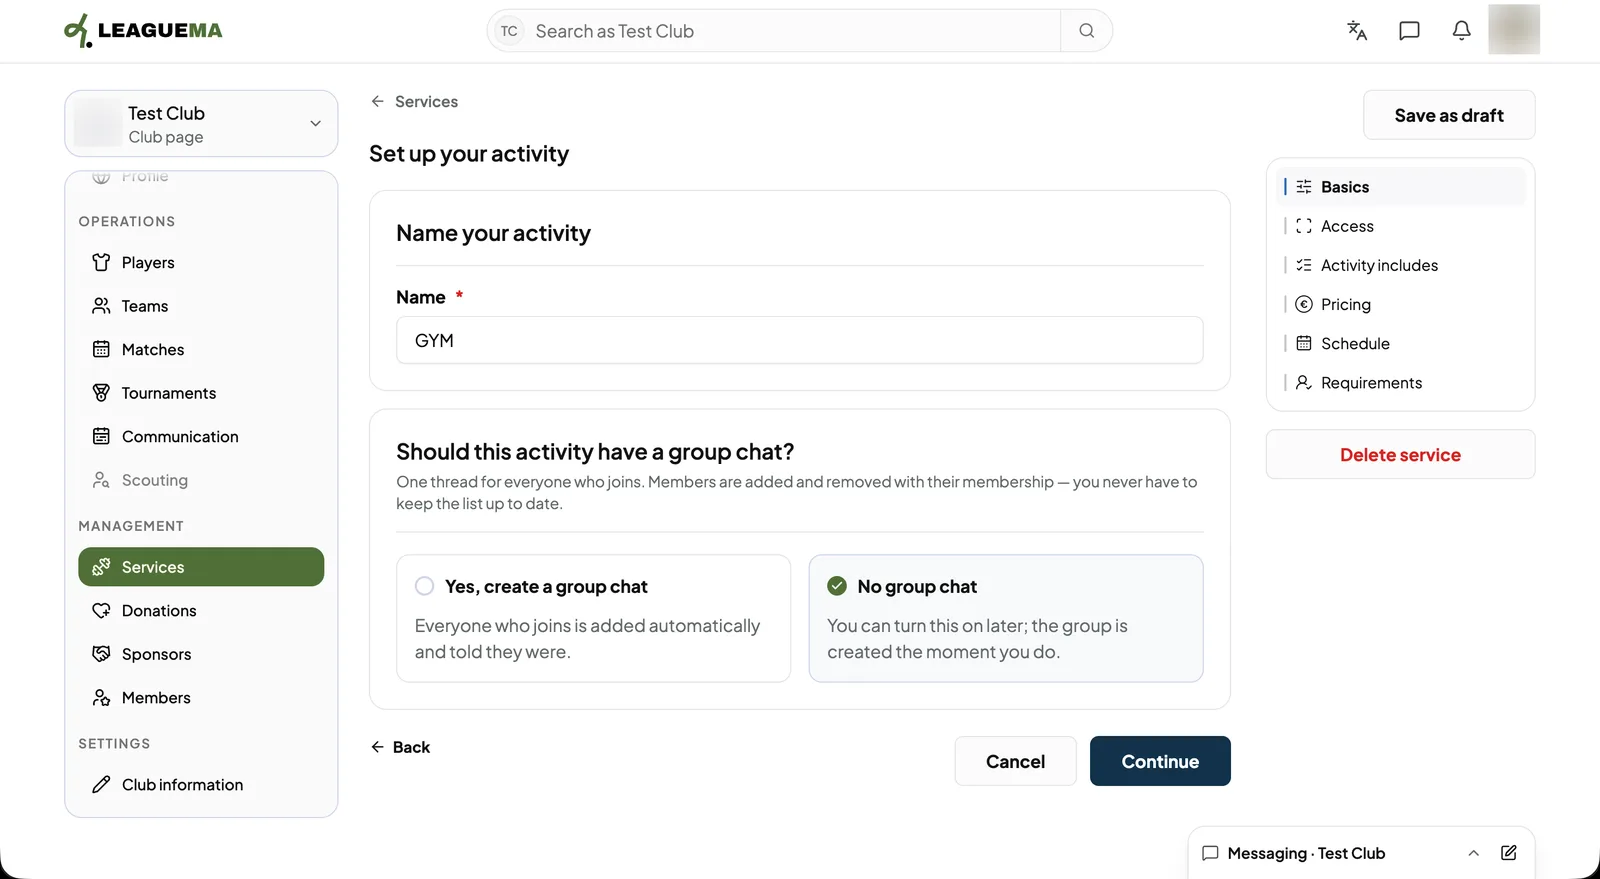
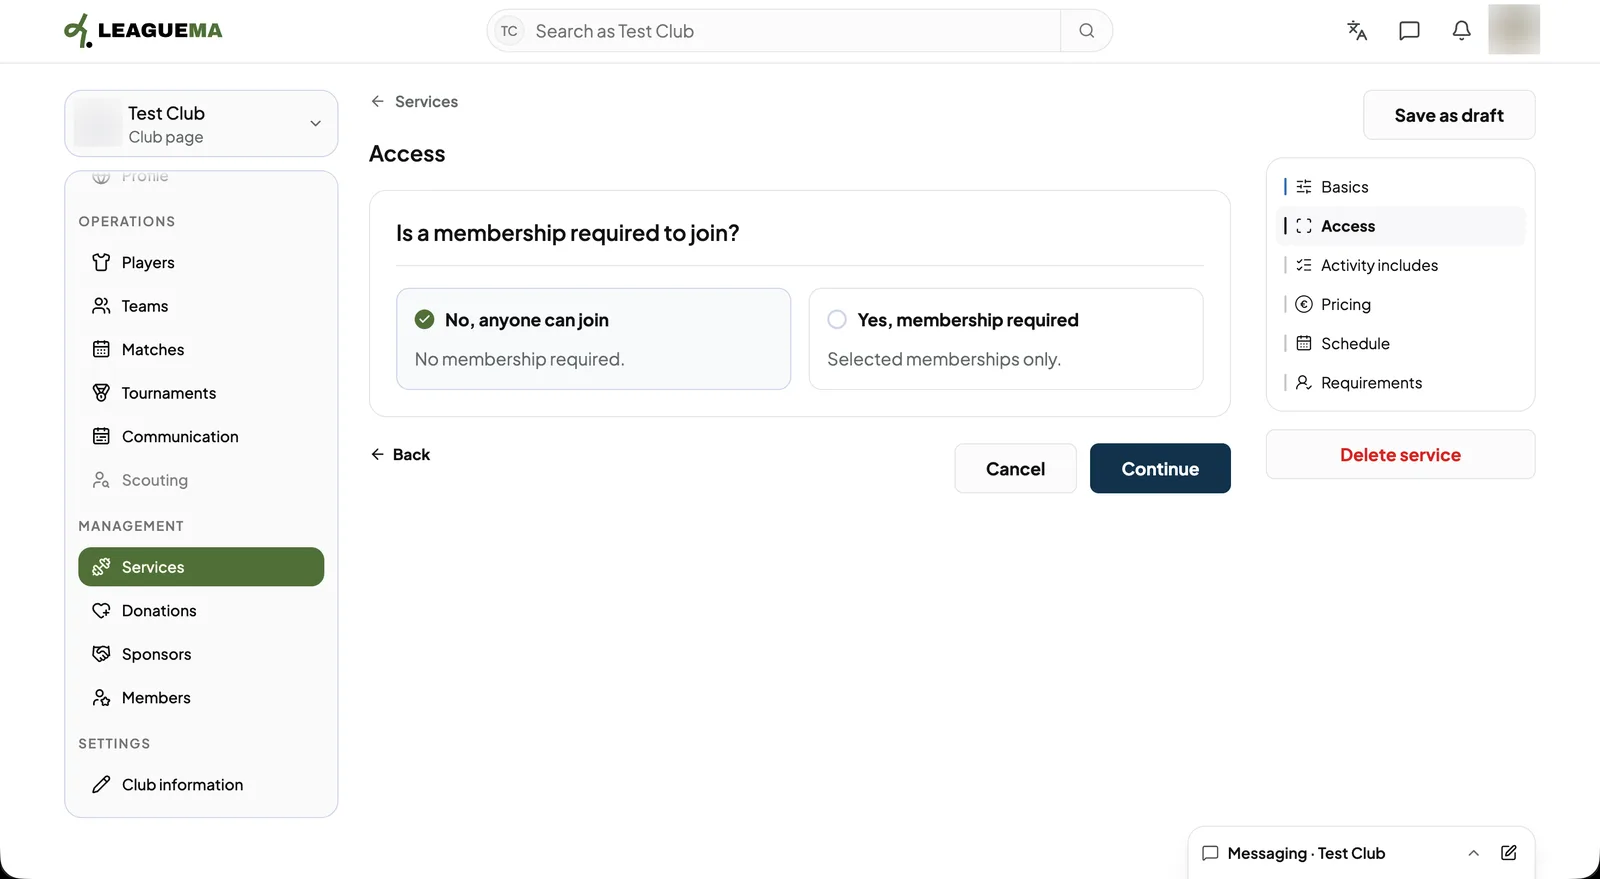
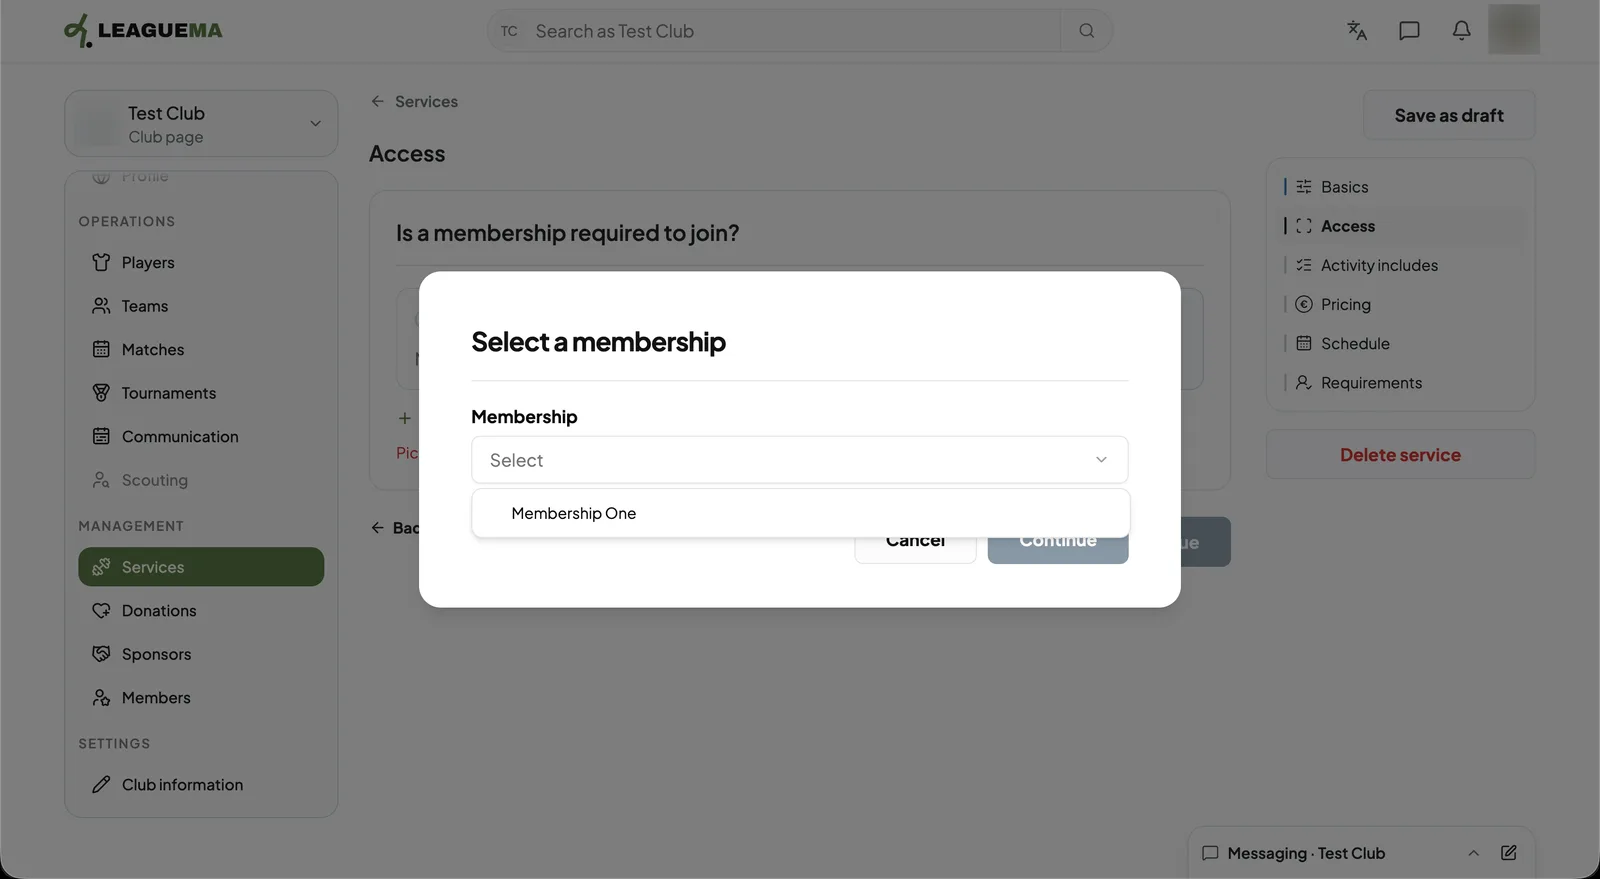
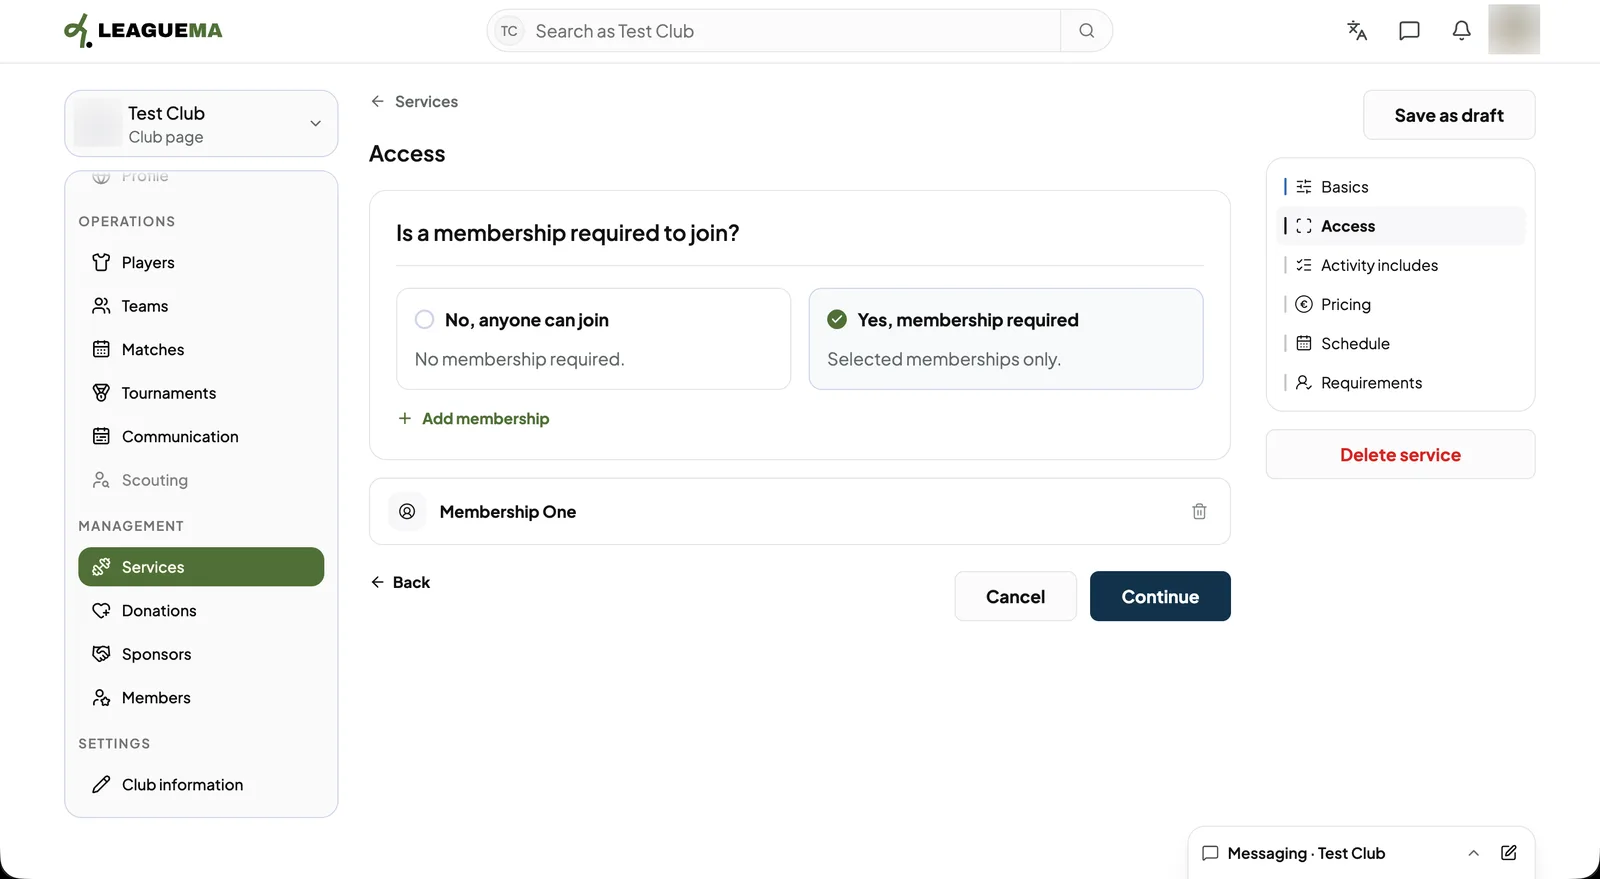
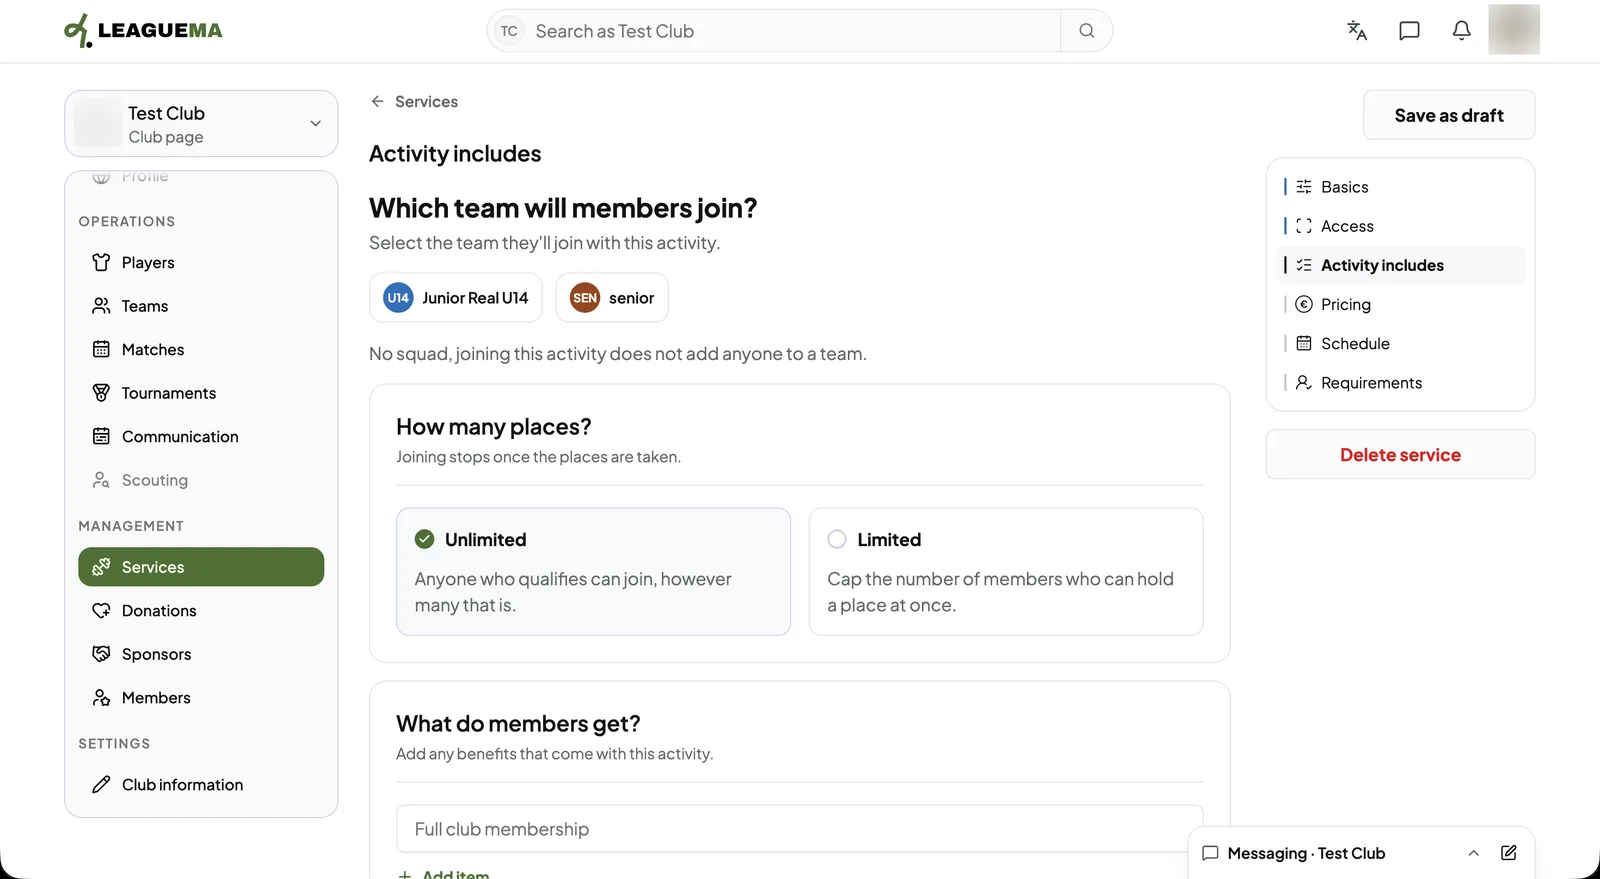
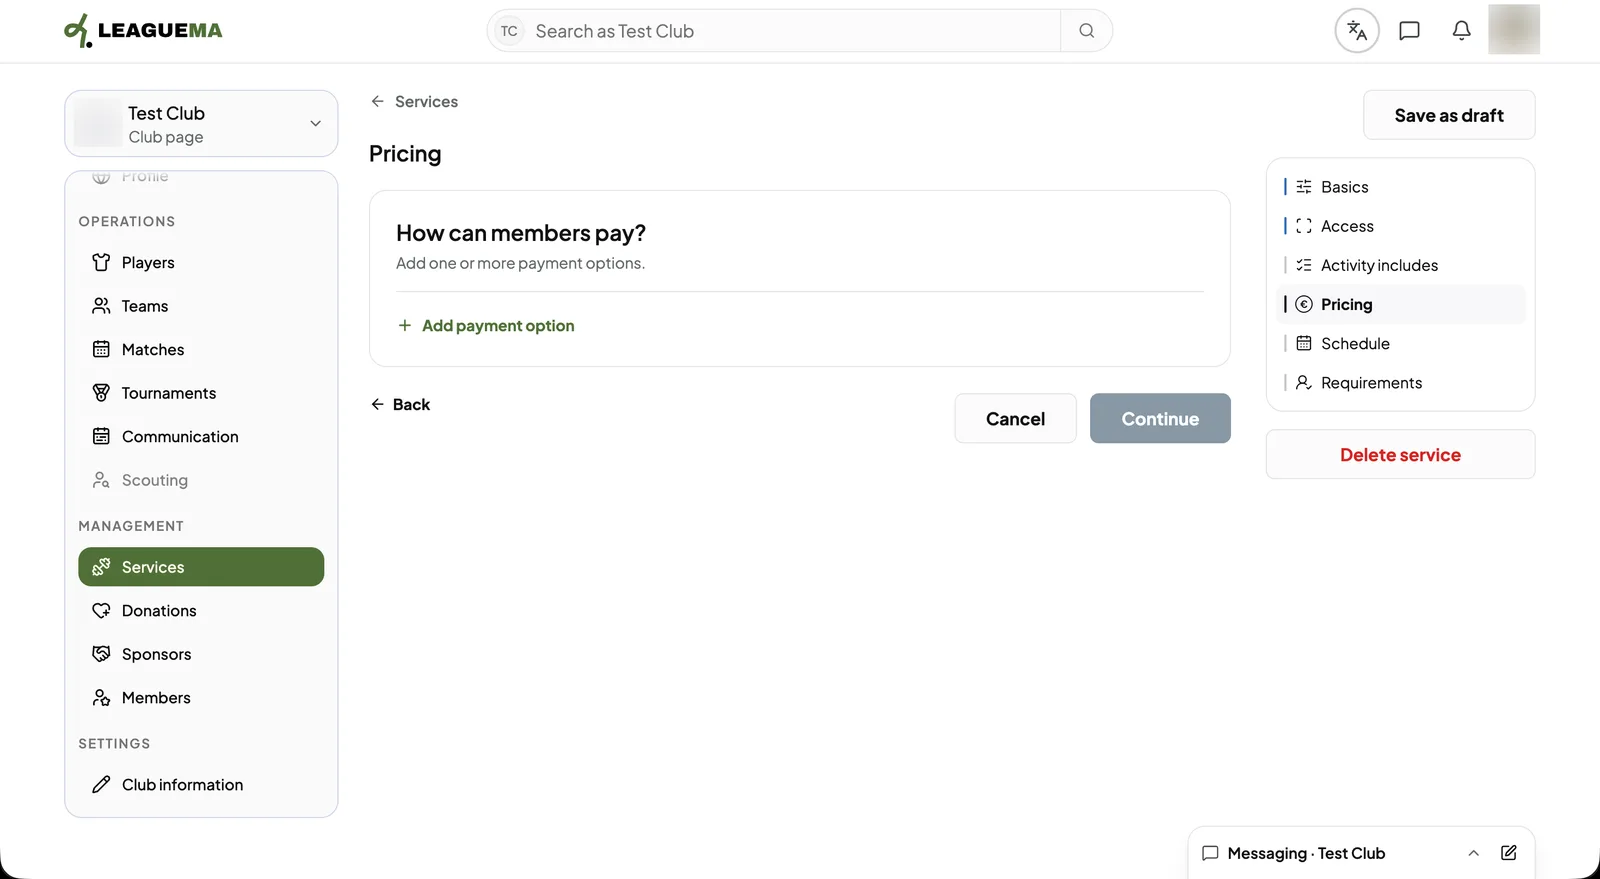
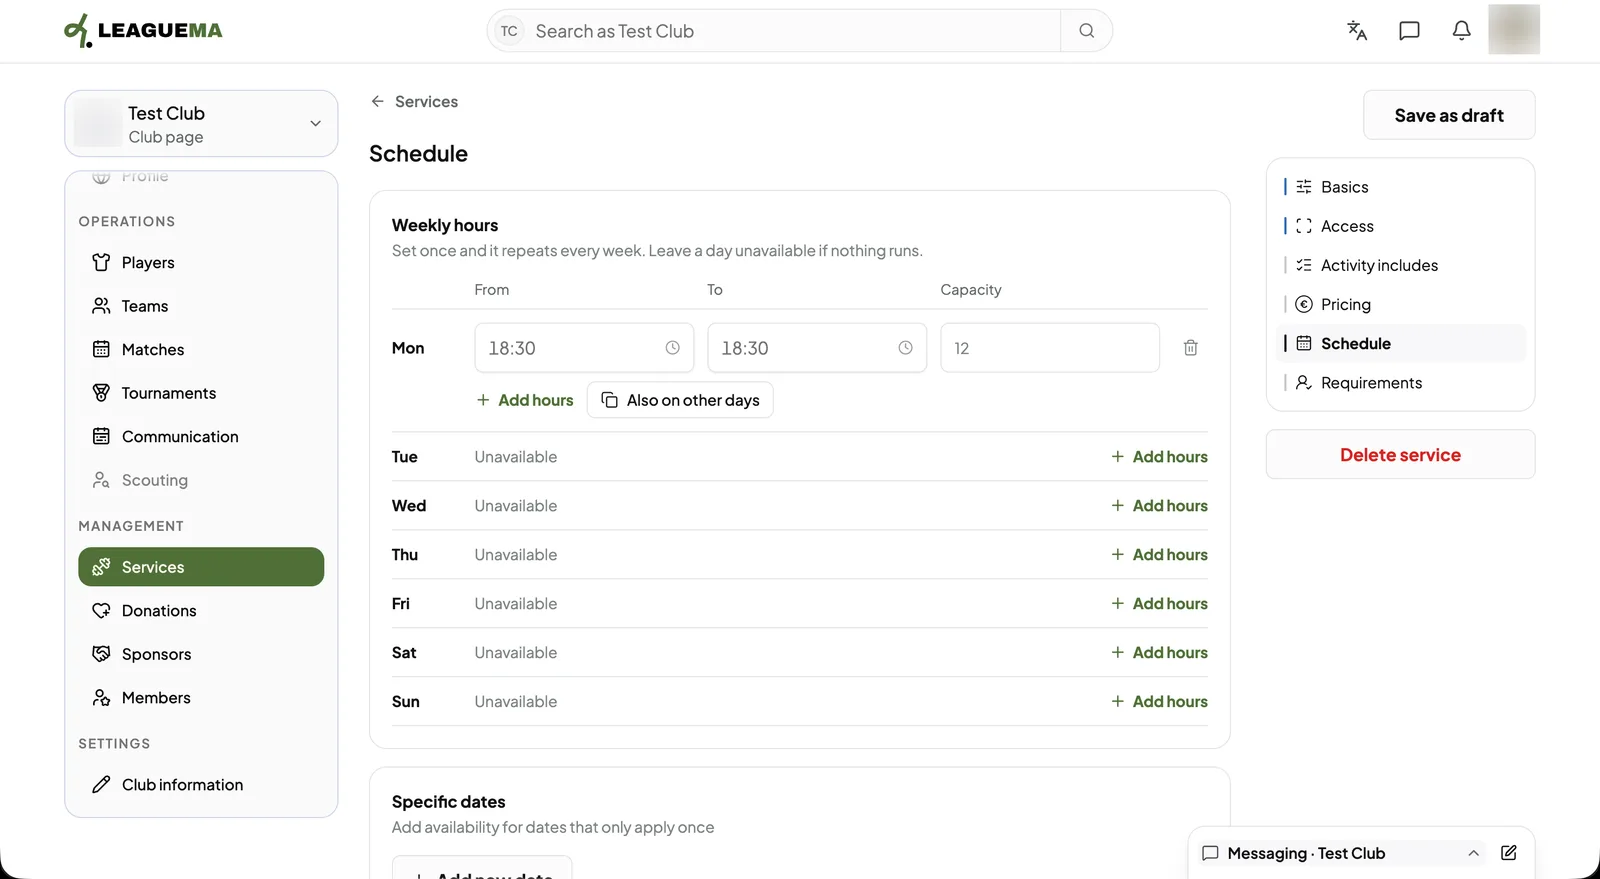
1. Choosing Activity Click “Add service”, then “Activity” under “What are you offering?”, and click “Continue”.2. Naming it and decide on a group chat Enter the “Name” and choose whether the activity has a group chat. Then, click “Continue”.3. Setting access Under “Is a membership required to join?”, click “No, anyone can join” or “Yes, membership required”.4. Selecting the memberships If a membership is required, click “Add membership” and choose it. At least one membership is required to continue.5. Confirming access The selected memberships are listed. Click “Continue”.6. Setting team, places and inclusions Under “Which team will members join?”, select a team or none. Choose “Unlimited” or “Limited” places, and list what members get.7. Adding pricing Under “How can members pay?”, add one or more payment options, as for a membership.8. Setting the schedule Under “Weekly hours”, click “Add hours” on each day the activity runs and enter the times and capacity. “Also on other days” copies the hours. “Specific dates” adds one-off dates.9. Adding requirements and publish Add any requirements and click “Publish”.